Steps to follow:
1. Hover over the left panel and click on the User icon which sits under the Administration section.

2. Batch Action Bar
From the user list you can batch select the users, by selecting the checkboxes next to the users and a batch action bar will pop up.

Within the bar there are three buttons where you can click to bulk change the below:
Environment – add or remove access to specific global dashboards or site wide functionality.
Permissions – bulk add or remove the permissions for projects or groups. Click the icon to open the permissions overview that highlights the detail behind the permissions, and what they means in terms of access to dashboards, forms, files and projects or groups.
Update - change the status of the user to either active or inactive, from here you can also change the organisation.
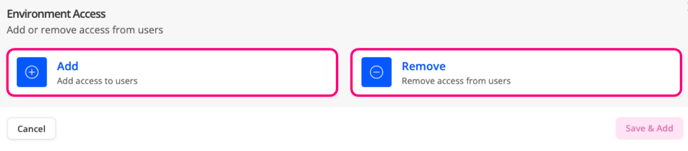
3. Batch Update Environment
From the batch action bar you can batch add or remove Environment Access from the users selected. This is often used to create roles to separate access to global Dashboards, dashboard snapshots or access to ai.
Add Access to Users:
- To add Environment Access to Users, from this screen you can see different environment access roles. Select those you would like to add using the checkboxes then click Save & Add to apply changes.
Remove Access to Users:
- To Remove Access to Users, from this screen you can see different environment access roles. Select which Environment you would like to remove using the checkboxes then click Save & Remove to remove selections and access from those users.
4. Batch update Permissions
From the batch action bar you can batch add or remove permissions from the users selected. 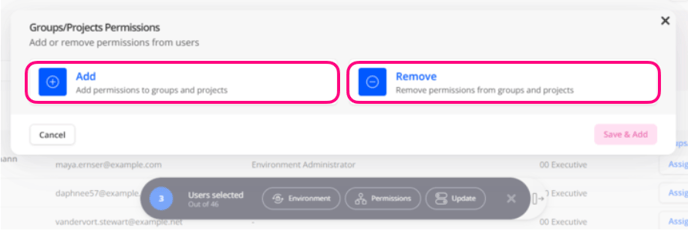
Add Group/Projects Permission:
- To Add, select the Groups and/or Projects where these permissions will relate to, then assign the permission groups from the dropdown options and click Apply.

Once you’ve added a Permission Group, you can click on the Permission Overview icon to pop open a new screen which shows more detail.
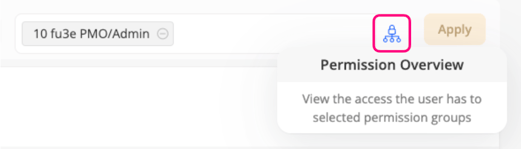
This Key will highlight the different levels of access such as view, create, edit or delete for the various dashboards, forms, files and projects.
Any greyed-out icons will mean they are not active and do not apply.
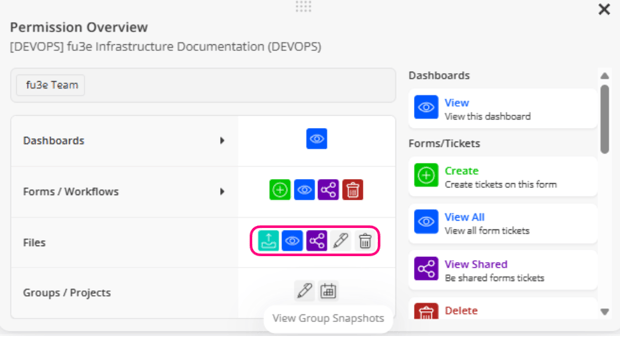
In the below example, it shows ‘fu3e Team’ as the Permission Group. Any users who belong to this group will be able to view Dashboards.
Note: Click to open the dashboard section to list out the relevant dashboards.
The below example also shows that this Permission Group allows you to upload files, view and share but does not allow you to edit or delete files.
- To Save and Add the changes, you’ll notice the Apply button becomes active once you’ve added a Permission to assign and the Project it relates to.
Click the Apply button which adds to the section below then select Save & Add to apply the changes.

The purpose of this section is to show all the projects, groups and permission groups where your changes will be applied.
Within this view you can also search for specific projects, remove all your changes, remove individual changes or click the Permissions Overview icon to pop open the specific details relating to those Project Permissions.
Note: Click to open the dashboard section to list out the relevant dashboards.
The below example also shows that this Permission Group allows you to upload files, view and share but does not allow you to edit or delete files.
Remove Group/Projects permission:
To Remove, select Projects and/or Groups this will affect then select the relevant Permissions to remove.
Once you’ve clicked Appy, they will be added to the section below for a final review before selecting Save & Remove to apply the changes.
5. Batch Update Status
From the user list you can batch select the users.
A batch action bar will pop up where you can batch update the status to be inactive. Or you can batch update to change the organisation and select from the drop down. Then select Save & Close to make the changes.
